While every theme has some level of support for the default customizer options, many themes include additional tabs and options to the WordPress theme customizer, so you can easily customize your theme without any coding knowledge.
Theme customizer is a default WordPress feature, and it is part of every WordPress website.
You can also use the WordPress theme customizer page for any of the installed themes on your website even when they are not active.
This allows you to see a live preview of that theme and make changes before you activate it.
To do that, you need to head over to Appearance » Themes page.
Next, hover your mouse cursor over on any installed theme and click on the Live Preview button to open the WordPress theme customizer page.
After opening the WordPress theme customizer, you’ll see all customization settings on the left side of your screen, and the live preview of your website on the right side.
WordPress theme customizer comes with a set of default panels regardless of the theme you’re using.
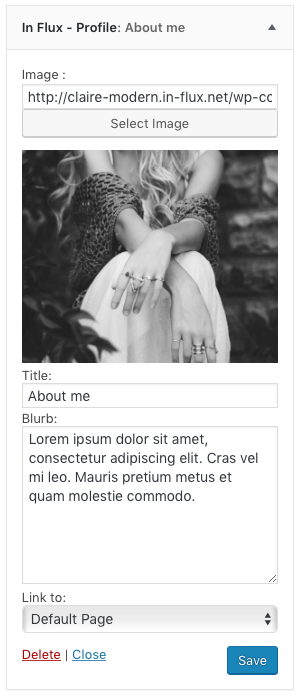
You need to click on the individual panels to make changes to it. You can also click on any of the blue pencil icons on the right side of your screen to open the settings for that particular item.
Site Identity Panel: Add Title, Logo, and Favicon
The Site Identity panel in the WordPress theme customizer allows you to add or change the title and tagline of your website.
By default, WordPress adds “Just Another WordPress Site” as the site tagline.
Adding Navigation Menus in Theme Customizer
The Menus panel allows you to create navigation menus and control their location on your website.
On this tab, you’ll find all existing WordPress menus that you’ve created previously. You can click on the “View All Locations” button to check the available menu locations that your theme supports.
To create a new menu, you need to click on the Create New Menu button.
After that, you will need to give a name to your menu, so you can easily manage it later. You can also select the menu location and then click on Next to proceed.
To add items to this menu, you need to click on the Add Items button to open a new panel. You can now add custom links, pages, posts, categories, and tags as menu items.
Control Widgets on Your Website in Theme Customizer
The Widgets panel allows you to add and manage the widgets on your site.
Clicking on it will show you the different locations where you can add widgets. This will vary depending on the theme you’re using.
For example, the Twenty Seventeen theme offers 3 widget locations, whereas the Twenty Nineteen theme comes with just one location.
When you click on any one of them, you’ll see the widgets that you’ve previously added to that location.
To add a new widget, you need to click on the “Add a Widget” button. This will open a new panel where you’ll see a list of all available widgets.
You need to click on the one that want to add. You can also make changes to the newly added widgets and adjust its position by dragging them up or down.
Homepage Settings Panel in Theme Customizer
By default, WordPress displays the latest blog posts on your homepage.
However for business websites users prefer to use a custom homepage. It allows you to have a proper landing page that displays your products and services.
To use a custom home page, you need to select “A static page” radio button on the Homepage Settings panel.
This will open up two new dropdown menus that you can use to select a page for your homepage and another for displaying your blog posts.
In case you don’t have the pages on your site, you can create a new one by clicking on the “+ Add New Page” link present below the dropdown menu. This will create a blank page with the name of your choice.
Publish, Save, or Schedule Your Customizer Settings
Once you have made the necessary changes, you need to apply them to your site. Otherwise, all your hard work will be lost.
Go ahead and click on the Publish button to apply the changes. Once done, you can click on the close button, present at the top-left corner of your screen, to exit the theme customizer.